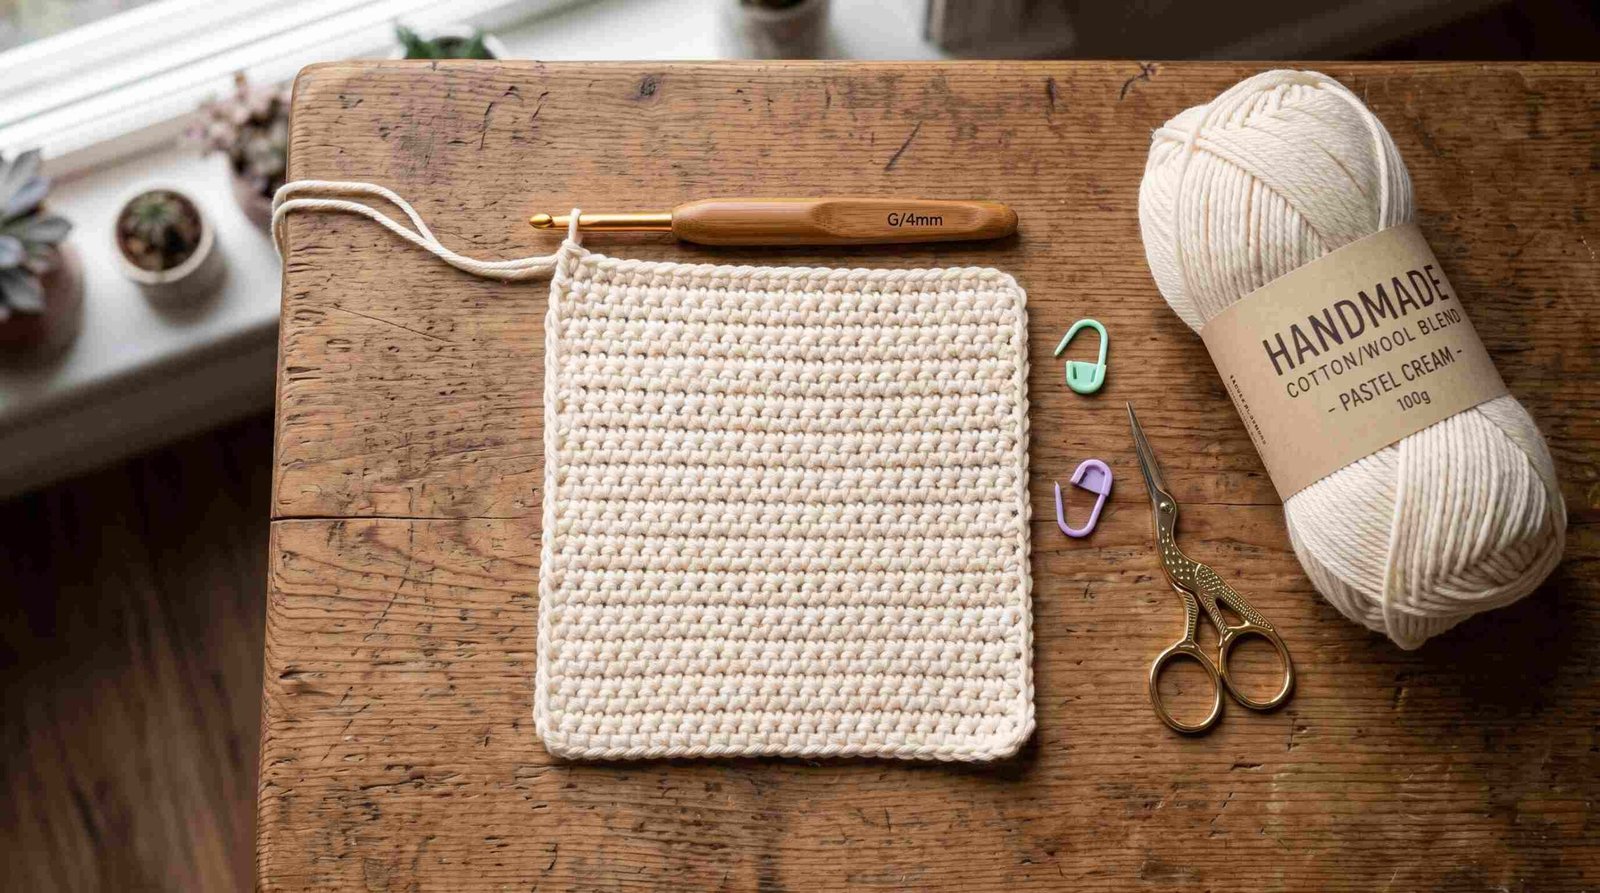
Ready to learn to crochet step by step? Discover how to choose beginner supplies, make your first chain, work basic rows, and finish a neat practice swatch.
A single strand of yarn can become a warm scarf, a useful dishcloth, or a small handmade gift. Learning to crochet step by step starts with a few repeatable motions, not a box full of tools or perfect stitches.
Begin with yarn and a hook, then practice making a chain and working basic rows. Your first stitches may look uneven, and that’s normal. A relaxed grip and steady practice matter more than getting every loop just right.
Choose Beginner-Friendly Tools and Yarn
You can learn the basics with one hook, one ball of yarn, and a few simple extras. Pick materials that let you see each stitch and feel comfortable in your hands.
Pick a hook that feels comfortable
Crochet hooks come in different sizes and materials, including aluminum, plastic, bamboo, and wood. Their shape and grip can affect how they feel, so choose one that’s easy to hold without squeezing.
The right hook size depends on your yarn and project. Check the yarn label for a suggested hook, then follow your pattern if it gives a different size. The Craft Yarn Council’s yarn weight guide lists common hook ranges, but notes these are guidelines.
Choose smooth, light-colored yarn
Smooth yarn makes it easier to spot the small loops that form each stitch. Light, solid colors help, too. Very dark, fuzzy, or highly textured yarn can hide the stitches, which makes it harder to see where your hook should go.
Look at the yarn label for its weight, suggested hook size, and care details. For a first swatch, a medium-weight yarn is often easy to handle. Make sure your hook and yarn work well together, rather than buying a large set of supplies.
Keep a few useful extras nearby
Scissors help you cut yarn when you finish, and a yarn needle lets you tuck loose ends into your work. Stitch markers are optional, but they can help mark the first or last stitch in a row.
A marker can be as simple as a small clip designed for crochet. If you don’t have one, keep track by counting your stitches and checking the edges before you start the next row.
Learn to Crochet Step by Step: Make Your First Chain
A chain is the starting point for many flat crochet projects. Work slowly at first, keeping the yarn moving without pulling it tight.
Form a slip knot and place it on the hook
Make a loop with the yarn, pull a strand through it, and place the new loop on your hook. Tighten the knot gently by pulling the yarn ends, leaving the loop loose enough to slide along the hook.
The slip knot creates your starting loop; it doesn’t count as a stitch. Before you begin chaining, check that you can move the loop along the hook without forcing it.
Hold the hook and yarn comfortably
Some crocheters hold the hook like a pencil, while others hold it like a knife. Either grip can work. Use the one that lets you move the hook without straining your fingers or wrist.
Your other hand guides the yarn and steadies the work. Hold the chain near the hook as you stitch, but don’t pinch it so tightly that the hook can’t move. If your hands tense up, pause and adjust your grip.
Make chain stitches at an even tension
With the hook under the working yarn, catch the yarn and pull it through the loop on the hook. This motion is called a yarn over. The new loop on the hook becomes the start of the next chain stitch.
Make a short practice chain, aiming for loops you can easily insert your hook into. If the chain feels stiff, loosen your yarn hold. Undo the practice chain and try again; repeating the movement helps your hands find a steady rhythm.
Learn to Crochet Step by Step With Basic Rows
Once you have a foundation chain, you can work stitches into it to make fabric. The first rows may feel awkward as you learn to find each chain and keep your edges even.
Work single crochet into the foundation chain
Insert your hook into a chain, catch the yarn, and pull it through. You’ll have two loops on your hook. Catch the yarn again and pull through both loops to complete one single crochet.
Patterns may tell you to insert the hook under different parts of the foundation chain. Choose one method and follow it throughout the row so your stitches stay consistent. Your pattern will also tell you which chain to use for the first stitch.
Turn the work and begin the next row
At the end of a row, turn your piece so you can crochet back across it. Many patterns tell you to make a turning chain before you start the next row. For single crochet, that chain often gives the yarn room to reach the right height.
Instructions can vary on where to make the turning chain and whether it counts as a stitch. Follow the pattern you’re using, rather than switching methods midway through a project.
Count stitches to keep the edges straight
Count your stitches at the end of each row. The loop on your hook doesn’t count as a stitch, and your pattern may give you a stitch total to check against.
The first and last stitches can be easy to miss, especially on early rows. Place a stitch marker in an edge stitch if you’re unsure where the row begins or ends. Catching a missed or extra stitch early helps keep the piece from getting wider or narrower.
Read Simple Instructions and Fix Common Snags
A beginner pattern may use short forms to save space. Learn a few basic terms, check the pattern’s key, and use counting to catch problems as you go.
Recognize common pattern abbreviations
In US terms, ch means chain, sc means single crochet, and sl st means slip stitch. The Craft Yarn Council’s crochet abbreviation list uses US terms and notes that designers may define special abbreviations in their own patterns.
US and UK terms don’t always use the same names for stitches. For example, a US single crochet is called a double crochet in UK terminology. Check which terms your pattern uses before you start, and refer to its key if an abbreviation is unfamiliar.
Spot tight stitches, skipped stitches, and uneven edges
If it’s hard to insert your hook into a stitch, you may be pulling the yarn too tight. Let the working yarn slide more freely and make each loop large enough to move along the hook.
A row that gains or loses stitches often has an extra stitch at one edge or a missed stitch at the other. Pause after each row and compare your count with the pattern. Use markers to identify the edge stitches while you build the habit.
Use stitch markers and counting to find errors
Markers can flag a row’s first or last stitch, a pattern repeat, or a stitch you want to check again. Move them as you work so they stay in the right place.
If the piece starts to change shape, count the stitches before continuing. Compare that number with the pattern’s instructions. It’s easier to fix one row now than to discover several rows later that the edges have shifted.
Finish a Small First Project and Keep Practicing
A simple project gives you a reason to practice the same stitches across several rows. Choose a pattern that matches what you know, then finish it neatly.
Choose a project that uses familiar stitches
A small square, simple scarf, or dishcloth can make a good first project if its pattern uses stitches you’ve practiced. Check the skill level, materials, and finished size before you begin.
A flat design with few stitch changes lets you focus on the chain, single crochet, and row edges. Start with a pattern that explains its terms and tells you how many stitches to expect in each row.
Fasten off and weave in yarn ends
When you reach the end, follow the pattern’s finishing instructions. A common way to fasten off is to cut the yarn, pull the tail through the final loop, and snug it gently.
Thread the tail through a yarn needle and weave it into the fabric, changing direction once or twice so it stays in place. Don’t pull so hard that the edge puckers. Weave in any starting tail, too.
Review the fabric and practice one skill at a time
Check the stitch count, edges, and overall shape, but don’t expect a first project to look flawless. Small differences in stitch size are part of learning. Notice one thing you’d like to improve, such as keeping the chain looser or spotting the final stitch.
Practice that skill on a short swatch, then try another small project. Repeating familiar stitches gives you time to build control without adding too many new steps at once.
Turn Your First Stitches Into a Crochet Habit
Start with an easy-to-hold hook and smooth yarn, then practice the slip knot, chain, and basic rows. Count each row and mark the edges when you need help keeping your stitches straight.
Make a short swatch today, even if the stitches look uneven. When you can work into the chain and complete a few rows with confidence, pick a beginner pattern and crochet your first small project.