
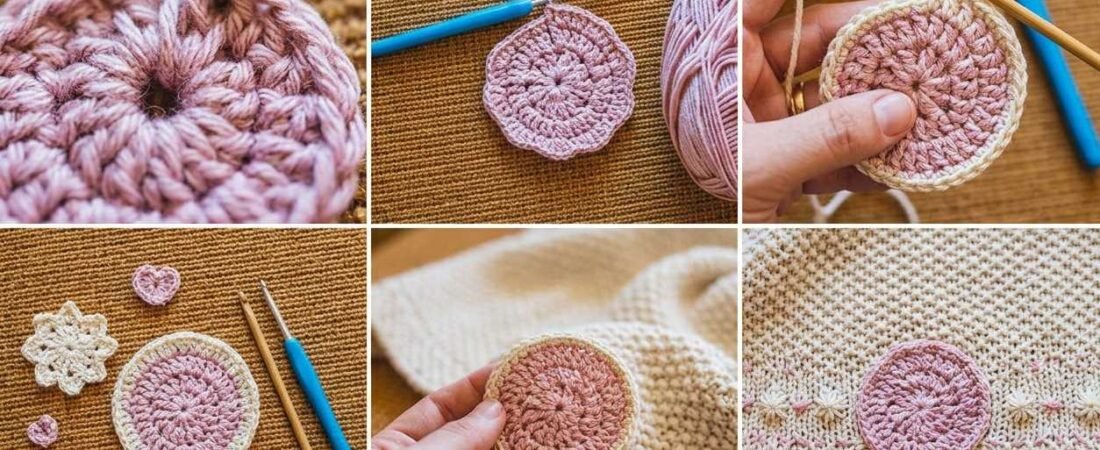
If there is one motif that defines the entire craft of crochet, it is the classic granny square.
Moreover, learning how to crochet a granny square is an absolute must for any beginner.
While it might look intricate, the granny square is actually incredibly simple once you understand the basic rhythm. It relies on just one primary stitch (the double crochet) and works up in continuous rounds. In this step-by-step guide, we will break down exactly how to start your first square, how to build your clusters, and how to change colors for a flawless finish.
Essential Materials for Your First Square
To get started, you don’t need much.
Additionally, for how to crochet a granny square, we recommend using a solid, light-colored yarn.
This helps you easily see where your hook should go.
- Yarn: A medium-weight (Aran/Worsted) acrylic or cotton yarn.
- Crochet Hook: A 5.0mm (Size H) or 5.5mm (Size I) hook.
- Scissors
- Tapestry Needle: For weaving in the yarn ends when you finish.
Understanding the “Granny Cluster”
The secret to the granny square is the “granny cluster.” Instead of working your hook into individual stitches, you will be crocheting into the large gaps (or “chain spaces”) created in the previous round.
A single Granny Cluster is simply 3 Double Crochet (dc) stitches worked into the exact same space.
Step-by-Step: The Classic Granny Square Pattern
Note: This pattern uses standard US terminology.
Round 1: Creating the Center
- Start: Chain 4. Join with a slip stitch (sl st) into the very first chain to form a small circle (the center ring).
- Chain 3: This counts as your very first double crochet.
- First Cluster: Work 2 more double crochets (dc) into the center of the ring. (You now have one complete cluster).
- First Corner: Chain 2.
- Second Cluster: Work 3 dc into the center of the ring. Chain 2.
- Third Cluster: Work 3 dc into the center of the ring. Chain 2.
- Fourth Cluster: Work 3 dc into the center of the ring. Chain 2.
- Join: Slip stitch into the top of your initial Chain 3 to close the round.
You should now have a tiny square with four clusters separated by four corner spaces.
Round 2: Building the Corners
- Start the Round: Slip stitch over to the nearest corner space. Chain 3 (counts as your first dc).
- First Corner: Work 2 dc into the corner space. Chain 2. Work 3 more dc into that same corner space. Chain 1.
- Second Corner: Move to the next corner space. Work (3 dc, chain 2, 3 dc) all into that space. Chain 1.
- Third Corner: Move to the next corner space. Work (3 dc, chain 2, 3 dc). Chain 1.
- Fourth Corner: Move to the last corner space. Work (3 dc, chain 2, 3 dc). Chain 1.
- Join: Slip stitch into the top of your initial Chain 3 to close the round.
Round 3 and Beyond
To make the square bigger, simply repeat the logic of Round 2!
- In every Corner Space, you will work: (3 dc, chain 2, 3 dc).
- In every Side Space (the spaces between the corners), you will work: just 3 dc, followed by a chain 1.
Keep adding rounds until your square is the exact size you want!
