
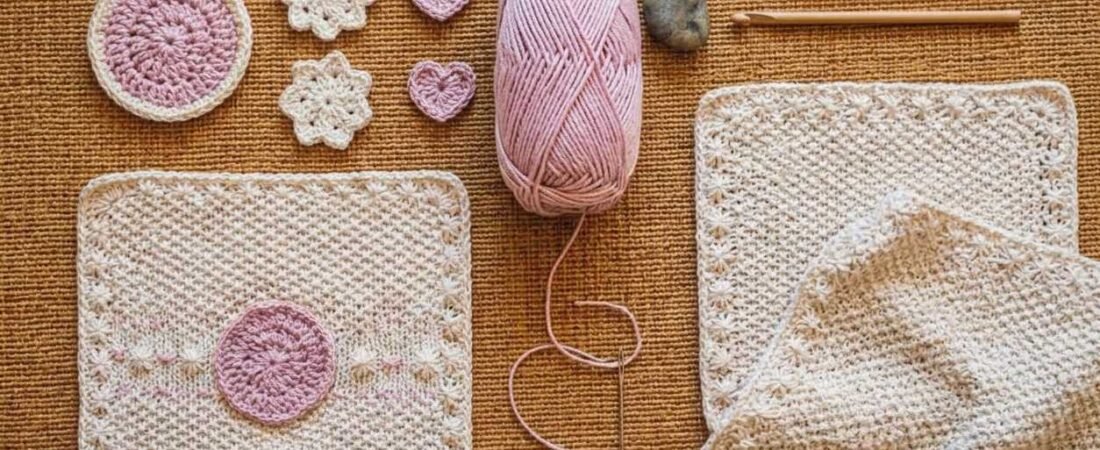
There is nothing more frustrating for a beginner than spending hours on a brand new project, only to step back and ask: why is my crochet curling? Whether you are working on a simple scarf, a blanket, or a basic washcloth, curled edges can make your hard work look messy and misshapen. But don’t unravel your yarn just yet! Curling is one of the most common issues in crochet, and it is almost always fixable.
In this guide, we will break down the three main reasons your project won’t lay flat and give you five easy fixes to get those crisp, straight edges every crafter wants.
The 3 Main Reasons Your Crochet is Curling
Before we fix the problem, you need to diagnose it. If your work looks like a potato chip instead of a flat square, it usually comes down to one of these three culprits:
- Your Tension is Too Tight: This is the #1 reason beginners experience curling. When you hold your yarn too tightly, the stitches pull inward, causing the fabric to warp and buckle.
- You Are Using the Wrong Hook Size: If your hook is too small for the weight of your yarn, the stitches will be too cramped to lay flat.
- Accidental Increases or Decreases: If you accidentally skip a stitch at the end of a row, or cram two stitches into the same space, your stitch count changes. This forces the fabric to wave or curl to accommodate the mistake.
5 Easy Fixes for Flat Edges
Ready to flatten things out? Try these five simple adjustments to fix your current project and prevent curling in the future.
1. Loosen Up Your Grip
If your hands ache after crocheting for 20 minutes, your tension is definitely too tight. Try consciously relaxing your shoulders and softening your grip on the yarn.
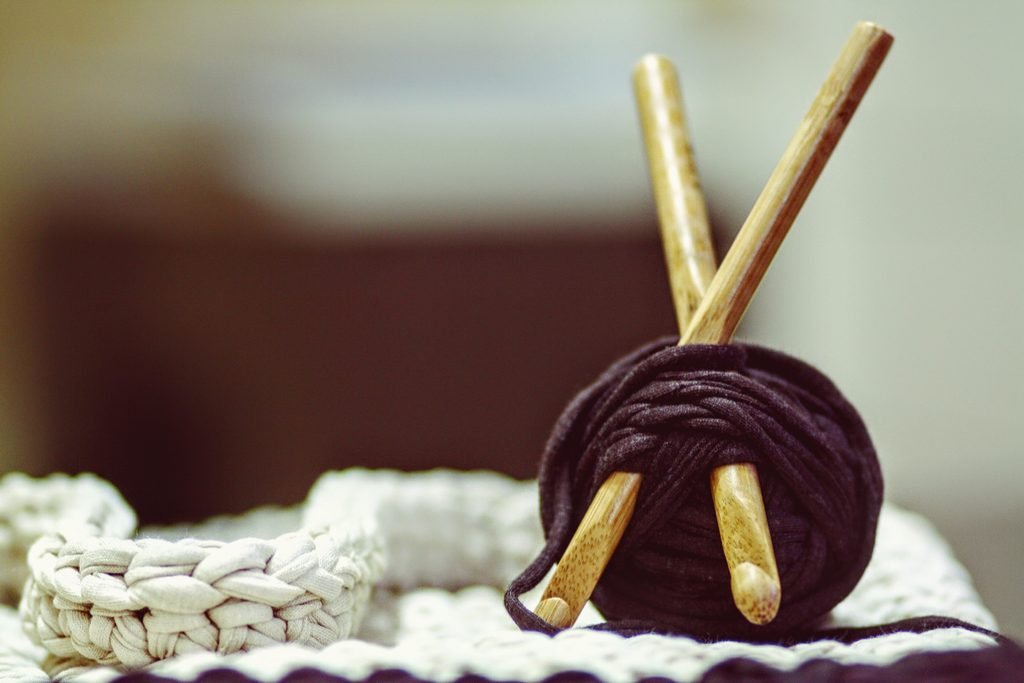
Pro-Tip: If you naturally crochet tightly, switching to an ergonomic crochet hook can make a massive difference. The wider handle prevents you from “death-gripping” the hook, naturally loosening your stitches.
2. Go Up a Hook Size
Check the label on your yarn skein. It will always recommend a specific hook size (for example, 5.0mm for worsted weight). If you are using the recommended hook and your work is still curling, simply go up half a size (e.g., to a 5.5mm hook). This gives the yarn more room to breathe and instantly flattens the fabric.
3. Count Your Stitches
It sounds tedious, but counting your stitches at the end of every row is crucial for beginners. If you started with 20 stitches, you must end with 20 stitches. Using cheap plastic stitch markers in the first and last stitch of every row guarantees you will never accidentally skip an edge.
4. Loosen Your Foundation Chain
The very first chain you make is often the tightest part of the whole project. If the bottom of your work is curling like a smile, your foundation chain is too tight. The Fix: Use a hook that is one full size larger just for the foundation chain, then switch back to your normal hook for Row 1.
5. Block Your Finished Work
If your tension is fine and your stitch count is perfect, but the edges are still rolling slightly, you need to “block” your work. Blocking is the magic process of pinning your finished crochet to a foam board, misting it with water, and letting it dry overnight. The water relaxes the yarn fibers, setting them permanently into a perfectly flat shape.
Practice Makes Perfect: The Flat Washcloth Pattern
The best way to master your tension and cure the curling is to practice on small, low-stakes projects.
Grab some cotton yarn and check out our free web tutorial for the Beginner’s Flat Washcloth! It is a simple, quick project designed specifically to help you practice keeping your edges perfectly straight.